

 It is only your donations that keep this website going. If we've helped you, please pay the favour forward and help others by keeping this content alive. You can do this by clicking here and donating. Thank you, for whatever you decide to give.
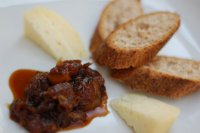
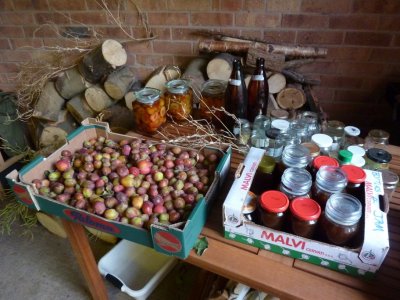 I like chutney's, but was never that hooked on them until this one. It's simply mouth watering (if you can say that about a chutney!). There's nothing like it when it's on a plate with bangers, onions and mash, and with cheese... mmmmm! it's real old school stuff straight from your childhood. It's a bit more complicated than Plum Jam but the results are worth it - quite simply this is the best chutney ever!
 - Before we move on to the recipe , if you're looking for something else to use up plums then why not try this Traditional Christmas Rumtopf and Plum Brandy recipe (click here) which will be superb for the festive season (if you can wait that long to drink it!) or this Traditional Plum and Lavender Jam recipe (click here) which is amazing and not something you'll find in the modern recipe book.
- I have a lot of plums every year so this is in large quantities, simply divide to get the amount you want.
- 6 lb of Plums
2lb of unpeeled apples
6 onions
4 cloves garlic
4 pints of cheap malt vinegar
25g of ground or 40g of fresh ginger
25g of ground cinnamon
50g of allspice berries
50g of cloves
2lb of raisins
100g of salt
1lb of brown sugar
1lb of demerara sugar
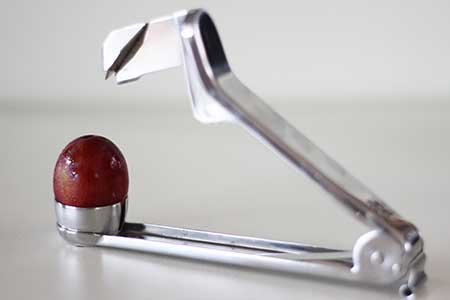 First I'd make sure you have a plum stoner (this is not really necessary but highly recommended). Plum stoners are cheap (£8) and very quick to use - personally I'd get the hand stoner shown in the photo as this is what we have and it has proved to be brilliant! However, as already said it is not 100% necessary and if you're made of hardy stuff you can simply slit every plum lengthwise with a knife and then twist out the stones by hand.
- As to all the rest of the equipment, there's nothing special here, so you should already have everything:
- 15 x jam jars with lids
- 1 x roll of baking paper (grease proof paper)
- 1 x large pan or jam making pan
- Some plates
- A ladle or large spoon
- An oven with a stove
- This isn't difficult - so don't worry if you're not a cook!
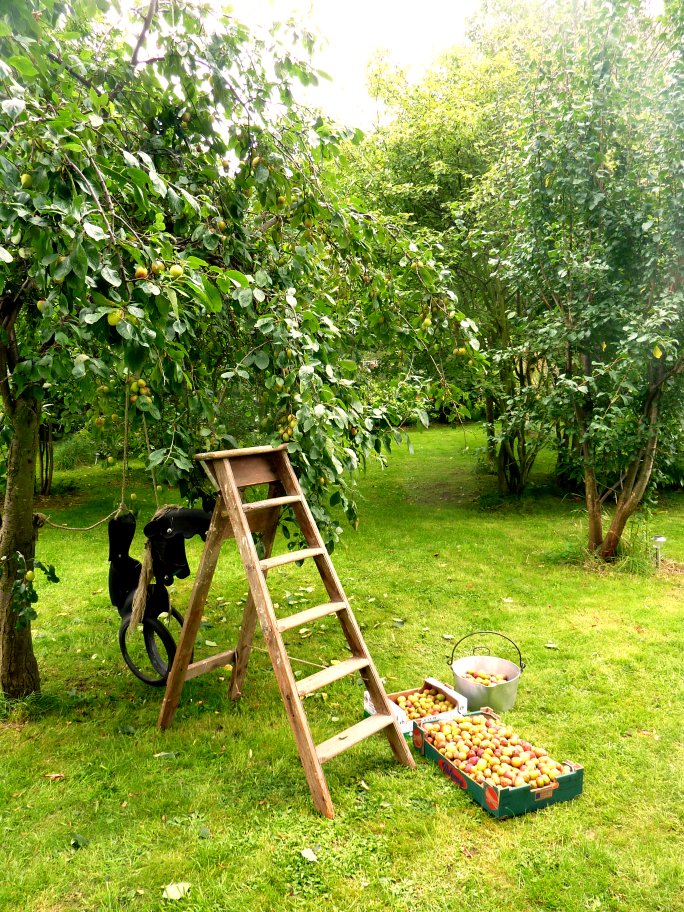 1. Pick then wash and stone the plums. You can do this by hand, running a knife lengthwise around the plum before twisting out the stone - this is a pain though! Personally I'd recommend getting your hands on a plum stoner which makes all this stoning business very easy and fast (see the equipment section).
 - 2. Now you're done with the plums, core and slice the apples (but don't bother peeling them). Also prepare the onions. Then the ginger and garlic. Bung all that in a pot with enough of your vinegar added to cover them and bring it all to a simmering boil - stir occasionally.
- 3. Now add the sugar, bit by bit, stirring it in so it dissolves. Add the rest of the vinegar and all the remaining ingredients. Keep it simmering vigorously. Remember to stir it occasionally or the sugar in the mix will burn and taste horrible!
- 4. After about 30 mins check for consistency - do this by running a spoon over the surface of the mix to form a groove. If vinegar runs into this groove fairly quickly then you need to keep on boiling and test again in 10 mins. If, however, the groove stays imprinted in the surface of the mix and only very slowly fills with liquid, then your chutney is ready - take it off the boil at this point.
- 5. Now you need to sterilise your jam jars. Do this by washing them and then whilst still wet placing them in the oven on a low heat (Gas Mark 3) for 15 mins. While you're waiting for them to sterilise cut your jam jar cappers out of grease proof or baking paper (these are the circles of paper or plastic that lie on the top of jam and other preserves).
- 7. Now your chutney is ready, you're ready for bottling. Ladle the chutney while still hot into your d jam jars filling each on to the top so there is only a little air space when the lid goes on. Get your jam jar cappers and place each one on the surface of the chutney in the jam jar. Finally put the jam jar lid on and you're done - but do all this while the chutney is still hot so everything stays serialized.
- 8. That's it you're done - put the pots to one side to cool and then wash the outsides thoroughly to clean off any spilt chutney (this is important to keep them fresh). It's very important that you leave them for 2 - 3 months before trying the chutney - it will taste foul before this maturation period so do not be tempted! Anyway, label them up and eat them after 3 months or give them away over the next 12 months - that's what we do!
"Old School" Plum Chutney Recipe from your childhood
PLEASE SUPPORT US |
| If we helped save you money, please pay the favour forward and help support the upkeep of this site and its guides for others. Just click a button below. |
 |
 |
 |
| Big thanks from us for your help! |
Please share your knowledge. |
| Many people have already helped others through this site by contributing information and techniques. If you have something you want to contribute, please click here to contact us. You'll be credited on this site and you'll have shared what you know to help the community. |
| Thanks to all who have contributed |